| Step | Catagory | Description | When |
| 1 | Pre-planning | Identify objects; check when they clear the houses and trees; and put into spreadsheet | Days before |
| 2 | Pre-planning | Add Sequence to SGP using Framing and Mosaic wizard | Daylight |
| 3 | Setup | Tripod to Pad | Daylight |
| 4 | Setup | Level the scope using the bubble levels on the mount | Daylight |
| 5 | Setup | Add Counterweights | Daylight |
| 6 | Setup | Put on Telescope | Daylight |
| 7 | Setup | Plug in all the cables including USB and Ethernet cords through window. | Daylight |
| 8 | Setup | Put on Coma Corrector and check Collimation | Daylight |
| 9 | Setup | Replace cover on front of scope | Daylight |
| 10 | Setup | Put on Camera onto Coma Corrector and scope and plug in cables | Daylight |
| 11 | Setup | Balance Scope | Daylight |
| 12 | Setup | Start up Pocket Power Box software and connect | Daylight |
| 13 | Setup | Check connection from PC to Gemini; park the scope with Gemini Software | Daylight |
| 14 | Setup | Check connection from PC to Gemini, Camera, Focuser, and Polemaster | Daylight |
| 15 | Setup | Remove caps from Scope, Guide scope, and Polemaster | Twilight |
| 16 | Pre-Capture | Startup Teamview on PC; Connect Laptop to PC | Twilight |
| 17 | Pre-Capture | Start up Stellarium; connect to the Gemini | Twilight |
| 18 | Pre-Capture | Start up PHD2 and connect to camera and scope (Optional) | Twilight |
| 19 | Pre-Capture | Start Polemaster Software and weight to see Polaris and 5 stars | Twilight |
| 20 | Pre-Capture | Run Polemaster routine from PC until Alt-Az adjustments are needed. | Twilight |
| 21 | Pre-Capture | Grad headlamp and put on head; turn on red light | Twilight |
| 22 | Pre-Capture | Bring laptop outside and adjust Alt-Az bolts | Twilight |
| 23 | Pre-Capture | Unpark the scope via Gemini Software | Twilight |
| 24 | Pre-Capture | USe Stellarium to slew to target. Watch cables and scope to make sure nothing goes wrong. | Twilight |
| 25 | Pre-Capture | Use SGP to get general focus on stars | Twilight |
| 26 | Capture | If target is already centered, turn off slew/center in SGP; do blind Sync | Dark |
| 27 | Capture | Start Sequence (automatically starts Slew; Center; Autofocus; PHD2) | Dark |
| 28 | Capture | Start up SharpCap | Dark |
| 29 | Capture | Set camera in SharpCap to "Folder Monitor Camera" | Dark |
| 30 | Capture | Set folder in Camera Controls to folder of SGP capture and click "Live Stack" | Dark |
| 31 | Capture | Monitor stacking and check in on SGP. | Dark |
| 32 | Capture | Enjoy till Meridian Flip time | Dark |
| 33 | Capture (Meridian Flip) | Meridian Flip not working yet.... | Dark |
| 34 | Capture (Meridian Flip) | Decide when it is time to do the flip; pause sequence; Park at CWD | Dark |
| 35 | Capture (Meridian Flip) | Grad headlamp and put on head; turn on red light | Dark |
| 36 | Capture (Meridian Flip) | Bring laptop outside | Dark |
| 37 | Capture (Meridian Flip) | Unpark the scope via Gemini Software | Dark |
| 38 | Capture (Meridian Flip) | Use Stellarium to slew to target. Watch cables and scope to make sure nothing goes wrong. | Dark |
| 39 | Capture | Resume monitoring and enjoyment | Dark |
More about lessons learned and planning but also to share my astrophotography
Subscribe to:
Post Comments (Atom)
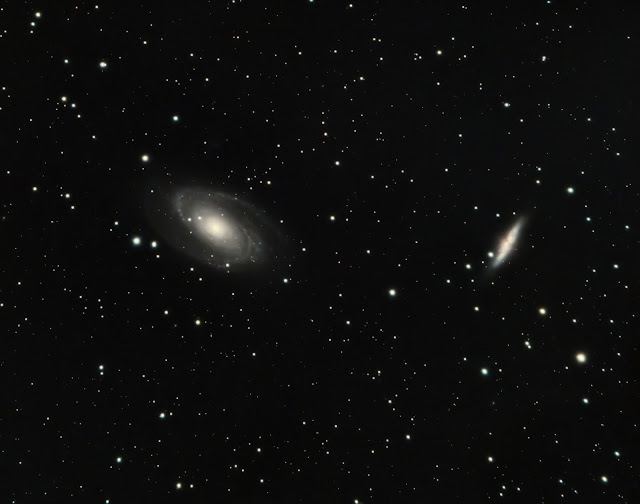
Galactic Ha Experiment with Bodes and Cigar Galaxies with a One Shot Color camera
I thought it might be a worthy experiment to see how the L-Ultimate filter could add to the Ha detail of galaxies using a OSC Camera. So th...

-
Introduction So, I thought I'd do a test to see results with the ZWO 533MC Pro camera using different gains on the same object. The goal...
-
Abell 85 or CTB1 is a nearby supernova remnant with an apparent diameter of about a half a degree (about the same size as a Full Moon). Upo...


No comments:
Post a Comment